
Solar panels can be a wise investment for many households. By installing solar panels, you can generate your own renewable electricity. How to install solar panels step by step? Before using solar panels, you need to pay attention to important things, one of which is how to install the solar panels. The following are the steps for installing solar panels:
- Set Up Scaffolding
- Install Solar Panel Mounts
- Install the Solar Panels
- Wire the Solar Panels
- Install Solar Inverter
- Bond Solar Inverter and Solar Battery
- Connect the Inverter to the Consumer Unit
- Start and Test Solar Panels
- Maintenance
Set Up Scaffolding

Step 1: The Scaffolding Shuffle
Before you embark on this electrifying journey, make sure you have all the necessary gear. This isn’t a tap-dancing routine; it’s a dance with solar panels! Gather your scaffolding pieces, connectors, braces, and bolts. It’s like assembling a massive puzzle, except this puzzle powers your home and saves the planet – no biggie!
Step 2: The Height Hoedown
Time to take your scaffolding to new heights – quite literally! While you might not need a pair of wings, a head for heights will definitely come in handy. Set the foundation firmly, like planting your flag on the solar summit. Make sure your scaffolding reaches the desired elevation, giving your solar panels a front-row seat to the sun’s daily performance.
Step 3: The Safety Samba
Just like a seasoned tightrope walker, safety is your constant partner in this dance. Secure those guardrails and toe boards like they’re your dance partners, ensuring you and your installation crew can cha-cha up there without worries. And don’t forget those helmets – safety is the hottest trend in solar fashion!
Step 4: The Panel Polka
Now comes the moment of truth – placing those solar panels onto the stage you’ve set. Imagine each panel as a dancer, ready to bust out moves that generate clean, renewable energy. Attach them with care and precision, like choreographing a flawless routine. Feel the satisfaction as your solar array takes shape, each panel in perfect harmony with the others.
Step 5: The Secure Shimmy
As any good dancer knows, balance is key. Tighten those bolts and braces like you’re cinching up your dance shoes. Your scaffold should be as secure as a backup dancer, never missing a beat. This is your chance to ensure your solar setup can withstand not only a solar storm but also the elements of time.
Install Solar Panel Mounts
Welcome to the solar rodeo, where we’ll be wrangling some serious energy harnessing! Yeehaw, partners! Now that you’ve got your scaffolding all set up – those trusty steeds of the solar frontier – it’s time to saddle up and install those solar panel mounts. This is where your solar panels will get cozy before they start soaking up the sun like it’s a poolside party in the desert.
Step 1: The Mounting Roundup
Gather ’round, solar enthusiasts! It’s time to rustle up those mounts. Think of them as the loyal sidekicks to your solar panels – they’re the ones that hold everything together while your panels bask in the sunlight. Secure those mounts onto the rooftop like a sheriff pinning a shiny star, and make sure they’re aligned for a picture-perfect solar showdown.
Step 2: The Panel Positioning Square Dance
Now that you’ve got your mounts in place, it’s time to do the solar panel positioning square dance. Picture yourself as a choreographer, arranging each panel for maximum energy capture. They should be lined up like synchronized dancers, each ready to show off their moves when the sun takes center stage.
Step 3: The Bolt Boogie
Get your toolbox ready, ’cause it’s time for the bolt boogie! Those solar panels need to be firmly attached to their mounts, just like partners in a dance routine. Tighten those bolts like you’re joining in a conga line – a little twist here, a little twist there – until your panels are snug and secure, ready to face any weather that comes their way.
Step 4: The Wiring Waltz
Now, let’s add some music to this solar dance party. Time for the wiring waltz! Connect those panels with the grace of a ballroom dancer – positive to negative, negative to positive, just like a perfect twirl across the floor. Make sure your connections are solid, so your panels can share energy like it’s the latest dance move.
Step 5: The Mount Inspection Jive
Congratulations, partner! You’ve installed those solar panel mounts like a true cowboy of the sun. But before you hang up your hat, give those mounts one last look with the mount inspection jive. Double-check those bolts, make sure the panels are aligned like the stars in the night sky, and ensure everything is shipshape for the solar journey ahead.
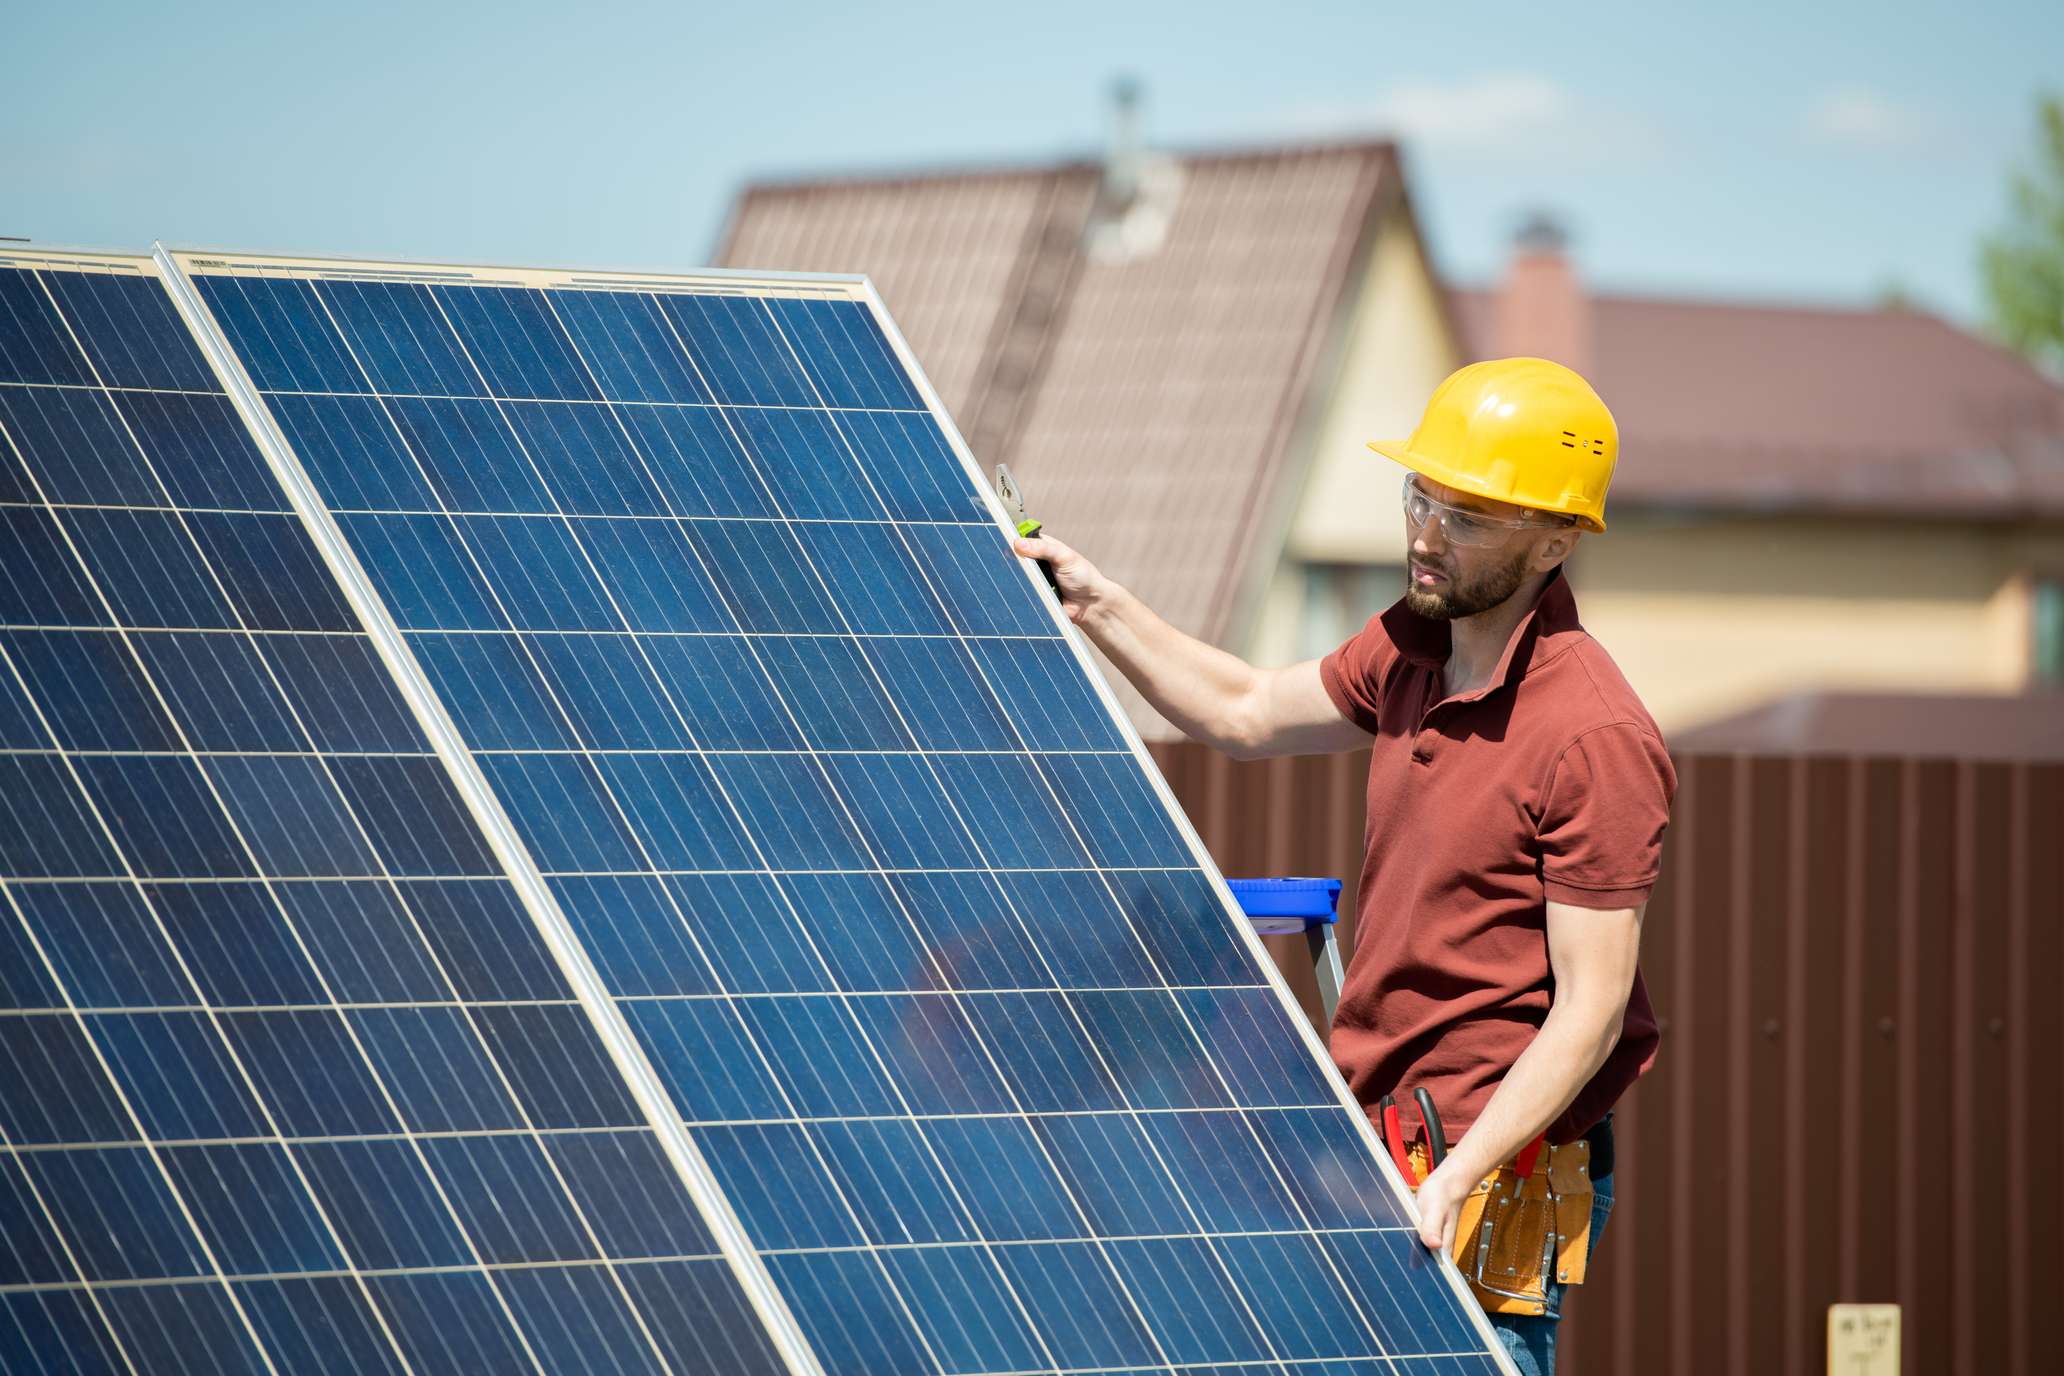
Install the Solar Panels
Ladies and gentlemen, welcome to the main event – the solar panel spectacular! It’s time to turn those rays of sunshine into a standing ovation-worthy performance. The stage is set, the mounts are ready, and you’ve got your solar groove on. Now, let’s get those panels up there and shining like the rock stars they are!

Step 1: The Solar Symphony Unfolds
Picture this: a symphony of solar panels coming together to create a harmonious energy masterpiece. It’s time to conduct this orchestra of efficiency! Gently lift each solar panel onto its mount, like a maestro guiding their musicians to take their place. Ensure they’re snug and secure, ready to play their part in the grand solar symphony.
Step 2: The Connection Conga
Now, let’s get these panels chitchatting with each other – it’s time for the connection conga! Connect the wiring from one panel to another like you’re introducing them at a glamorous ball. Positive to negative, negative to positive – it’s the dance of electricity, and you’re the conductor ensuring every step is in tune.
Step 3: The Sunny Side Shuffle
Solar panels are all about soaking up the sun, so let’s make sure they’re doing the sunny side shuffle. Adjust the angle of each panel to capture the most sunlight possible. Imagine you’re giving them a front-row seat to the greatest show in the sky. This dance move guarantees a performance that’ll make your electricity meter do the cha-cha with delight!
Step 4: The Weatherproof Waltz
Rain or shine, your solar panels are in for the long haul. That’s why it’s time to perform the weatherproof waltz. Seal any openings, secure the edges, and make sure your panels are as cozy as can be. This dance keeps the elements from raining on your solar parade and ensures your panels can dance through any weather.
Step 5: The Energy Mambo
Drumroll, please! It’s time to unveil the star of the show – the energy mambo! Flip the switch and watch as your solar panels start generating clean, green energy. It’s like watching a dance floor light up as the music starts. Your home becomes a stage for this energy mambo, and the best part? The environment is the biggest fan in the audience.
Wire the Solar Panels
Cue the techno beats, because we’re about to wire up some solar electricity – it’s like creating a dance floor for electrons! Now that your panels are in place and ready to boogie, it’s time to give them the power to shine brighter than a disco ball at midnight. Let’s get those wires jiving and those electrons grooving!
Step 1: The Cable Cha-Cha
Picture this: solar panels tapping their toes, eager to share their energy with your home. It’s time for the cable cha-cha! Connect the wires from each panel to create a circuit that’ll make your lights flicker with delight. Just like partners on the dance floor, these cables are about to tango their way to an electrifying performance.
Step 2: The Junction Box Jig
Now it’s time to lead those cables to the heart of the operation – the junction box jig! This box is like the DJ booth of your solar dance party. It’s where all the connections come together, ready to pump out those sweet solar beats. Secure those cables and make sure everything’s as organized as a well-rehearsed flash mob.
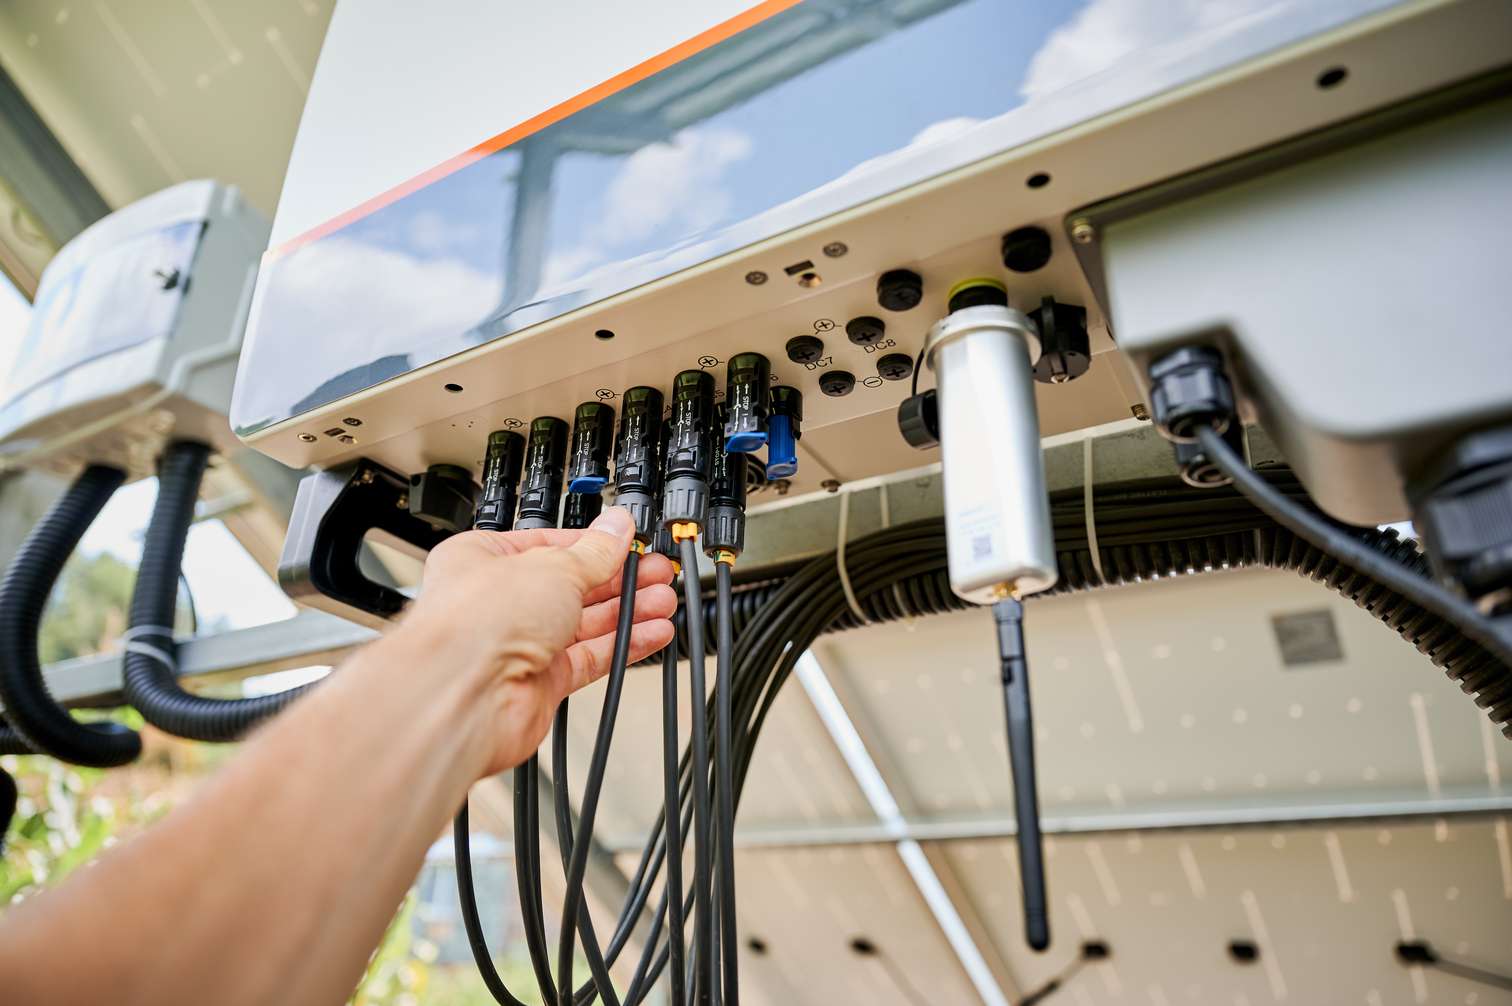
Step 3: The Inverter Shuffle
You know what they say – every dance party needs an emcee. And in the world of solar, that’s the inverter’s job. Time to do the inverter shuffle! Connect your junction box to the inverter, allowing it to work its magic and turn that direct current (DC) energy into the alternating current (AC) energy that powers your home. It’s like watching a transformer breakdance – pure magic!
Step 4: The Breaker Box Breakdown
Let’s keep the energy flowing safely with the breaker box breakdown. This is where your solar energy gets an official ticket to enter your home’s electrical system. Just like a VIP entrance to the hottest club in town, your breaker box is where all the action happens. Install that breaker and give your solar energy an all-access pass to keep your home rocking around the clock.
Step 5: The Voltage Samba
As the final chords of our solar installation dance play out, it’s time for the voltage samba. Double-check the voltage of your solar energy to ensure it’s in perfect harmony with your home’s needs. You’re like a conductor making sure every note is pitch-perfect and ready to energize your life.
Install Solar Inverter

Step 1: The Inverter Arrival
Picture this: the inverter arriving like a rockstar to your solar party. Unbox it with the anticipation of opening a VIP invitation. This is the magic box that’ll be converting your solar energy into usable power, so treat it like the celebrity it is. After all, it’s the headliner in the concert of clean energy!
Step 2: The Mounting Boogie
Time to get that inverter on its feet – or rather, on the wall! The mounting boogie involves securely fixing your inverter to a wall in a well-ventilated area. Think of it as giving your DJ the best spot to spin tunes and keep the energy flow going. Just like a dance partner, your inverter needs a steady and reliable connection.
Step 3: The Connection Electric Slide
Now it’s time to get those wires wiggling with the connection electric slide! Hook up your inverter to your junction box with all the finesse of a synchronized dance routine. Make sure each wire connects seamlessly because this dance is all about harmony – the inverter and your home’s electrical system moving together like a choreographed duo.
Step 4: The Inverter Power-Up
Get ready to press play on the solar symphony – it’s time for the inverter power-up! Flip that switch and watch as your inverter springs to life, just like a DJ dropping the bass. The inverter takes those DC notes and remixes them into AC energy that your home appliances can jam to. It’s like a remix that’s guaranteed to get everyone on their feet!
Step 5: The Energy Flow Waltz
As the final crescendo approaches, it’s time for the energy flow waltz. Take a moment to admire your inverter’s work, channeling that solar energy into a dance of electricity that’s ready to light up your life. Your home is now a stage for the most sustainable show in town, and your solar inverter is the conductor, ensuring every appliance hits the right note.
Bond Solar Inverter and Solar Battery
Step 1: The Battery Arrival
Imagine the solar battery arriving like a secret agent ready to save the day. Unbox it with the anticipation of opening a treasure chest, because this battery is about to hold a stash of pure solar energy gold. It’s the Robin to your inverter’s Batman, and together, they’re going to electrify your energy game.
Step 2: The Inverter-Battery Tango
Now it’s time to introduce your inverter and battery with the grace of a tango. Connect them like dance partners holding each other close. The inverter provides the moves, transforming the energy, while the battery stores it for later use. They’re about to perform the most synchronized routine, ensuring your home stays powered even when the sun takes a nap.
Step 3: The Voltage Waltz
As the inverter and battery get cozy, it’s time for the voltage waltz. Make sure their voltage levels match, ensuring they dance in perfect harmony. Think of this step as a compatibility test – you want them to tango like Fred and Ginger, not trip over each other’s feet.
Step 4: The Connection Shuffle
Now it’s time for the connection shuffle – ensuring that the inverter and battery communicate flawlessly. Think of it as teaching them a secret handshake. This step ensures that your energy flow is as smooth as a dance routine, with no missteps along the way.
Step 5: The Backup Boogie
Get ready to do the backup boogie – a dance of assurance and preparation. When the sun’s spotlight fades, your solar battery takes center stage, providing backup power like the understudy ready to steal the show. It’s like having a dance partner who’s always ready to step in and keep the performance going.
Connect the Inverter to the Consumer Unit
Step 1: The Inverter Spotlight
Imagine the inverter stepping into the spotlight with confidence, ready to take the lead in this energy-packed finale. This is where the real magic happens – the conversion of solar energy into usable electricity that’s ready to light up your life. Treat your inverter like the VIP it is, because it’s about to shine brighter than a disco ball on a Saturday night.
Step 2: The Consumer Unit Connection Cha-Cha
Now it’s time for the consumer unit connection cha-cha! Picture yourself as the dance instructor, guiding those wires from the inverter to the consumer unit with precision. It’s like leading your dance partner through a series of intricate moves. Connect the inverter’s output to the consumer unit’s input, creating a seamless flow of energy that’ll have your home dancing with delight.
Step 3: The Circuit Breaker Salsa
Get ready for the circuit breaker salsa – the moment where safety and performance come together in a spicy dance routine. Install circuit breakers that act as the bouncers of your energy party, ensuring everything flows smoothly and no one gets overwhelmed. This dance move keeps your energy levels in check, preventing any energy-related meltdowns.
Step 4: The Safety Tango
As the dance crescendo builds, it’s time for the safety tango. Double-check all connections and ensure everything is secure, just like a partner in a synchronized dance routine. This step guarantees that your energy performance is not only dazzling but also safe for everyone on the dance floor.
Step 5: The Energy Ensemble Finale
And now, for the most anticipated moment – the energy ensemble finale! Flip those switches and watch as your home lights up like a Broadway stage on opening night. The inverter and consumer unit have orchestrated a masterpiece, delivering energy to every corner of your space. It’s like a standing ovation from your appliances, thanking you for giving them the best show in town.
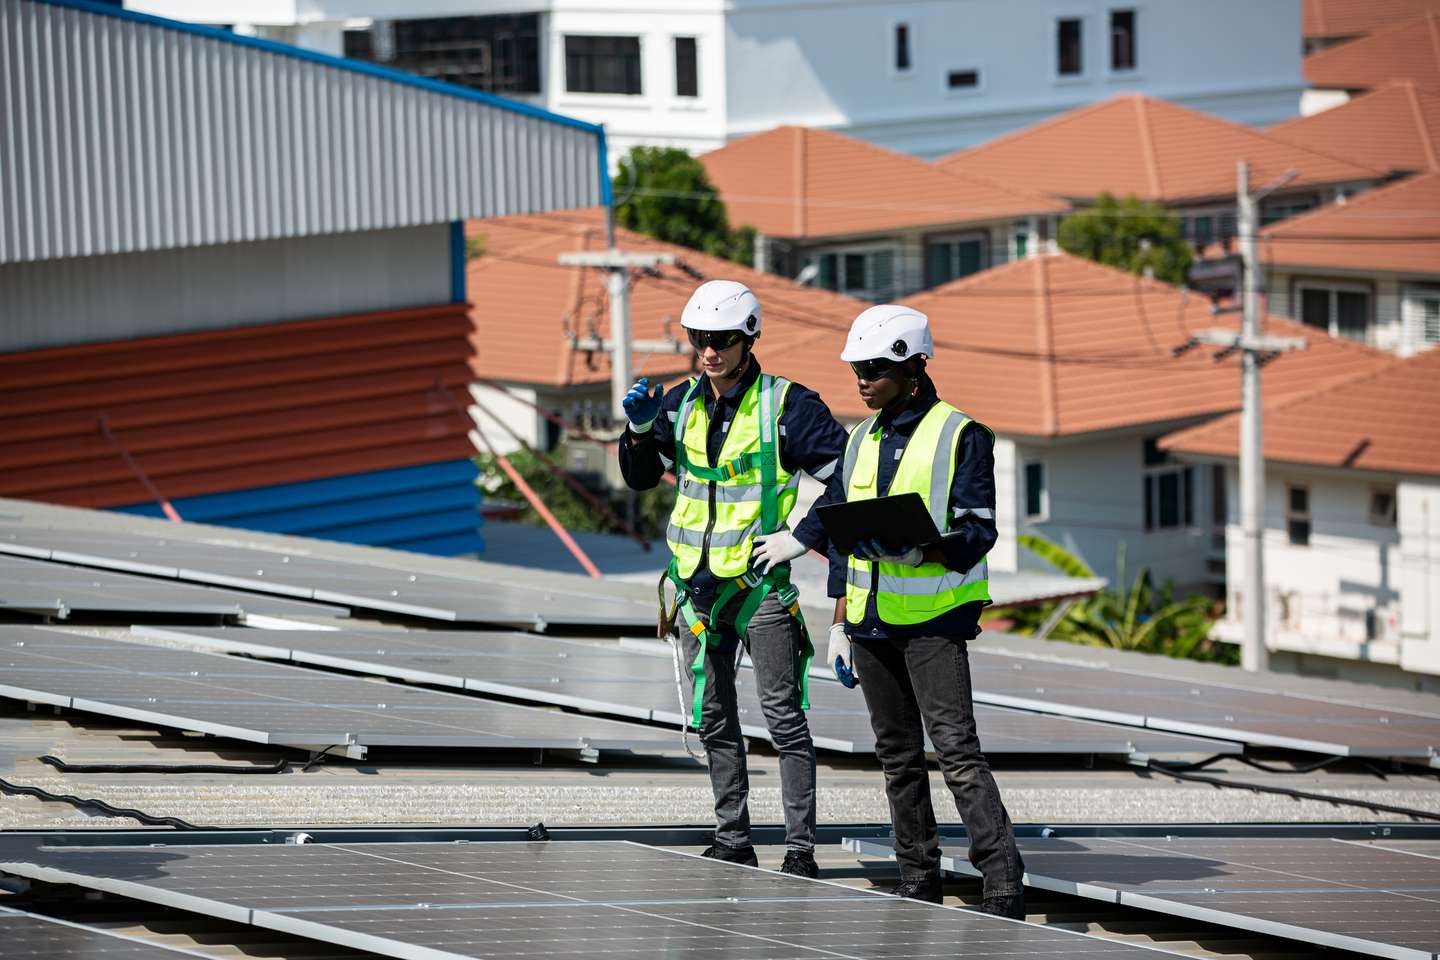
Start and Test Solar Panels
Step 1: The Solar Wake-Up Call
Imagine the solar panels waking up from their slumber, ready to embrace the sun’s spotlight. This is your cue to flip the switch and initiate the solar wake-up call. Your panels are like performers stretching before a show, getting ready to soak up those rays and convert them into clean energy that’s ready to shine.
Step 2: The Energy Flow Jive
Now it’s time for the energy flow jive! Watch closely as your solar panels channel their inner dancers, generating energy that flows like a river through your home. Picture this step as a synchronized routine, with each panel contributing its moves to the overall performance. You’re about to witness a dance of electrons that’s both mesmerizing and efficient.
Step 3: The Monitor Mambo
As the energy flows, it’s time to do the monitor mambo. Keep an eye on your energy production using monitoring tools, just like a dance instructor watching their students’ progress. Track how much energy your panels are generating and give yourself a pat on the back – you’re officially orchestrating a greener, more sustainable future.
Step 4: The Performance Polka
Now, for the highlight of the show – the performance polka! Watch as your solar panels light up your home, powering appliances, gadgets, and gizmos with their impressive moves. Your home is now a dance floor where energy efficiency takes the lead. It’s like watching a perfectly choreographed routine where your solar panels steal the show.
Step 5: The Testimonial Tango
As the curtain falls on this solar installation journey, it’s time for the testimonial tango. Sit back, relax, and bask in the glory of your solar panels’ success. Your appliances are now part of the chorus, singing praises to your decision to go solar. This is your moment to revel in the satisfaction of knowing you’ve made a difference – environmentally and financially.
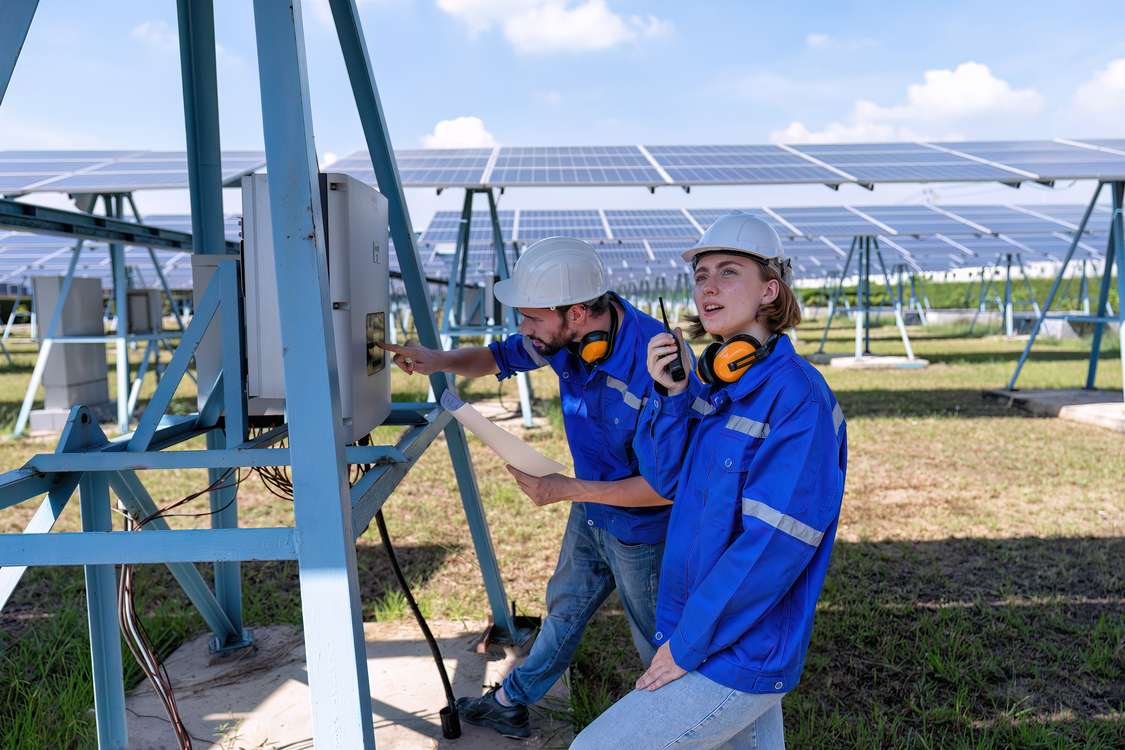
Maintenance

Ladies and gentlemen, give a round of applause for the unsung heroes of the solar installation saga – the maintenance crew! Just like the cleanup crew after a spectacular dance performance, your solar system needs a little TLC to keep those energy moves smooth and the groove going strong. So, put on your maintenance cap and get ready to ensure your solar panels stay in tip-top shape!
Step 1: The Solar Sweeping Routine
Imagine your solar panels as a dance floor that needs a little tidying up. It’s time for the solar sweeping routine! Dust, debris, and even the occasional leaf can obscure the panels’ dance with the sun. Gently clean them with a soft brush or hose, letting the panels twirl through their routine with the utmost clarity.
Step 2: The Connection Check Cha-Cha
Get into the rhythm of the connection check cha-cha. Just like partners in a dance, your solar panel connections need to stay strong. Give them a once-over to make sure they’re securely in place, preventing any missteps in your energy flow. A quick check can keep your solar performance as tight as a tango.
Step 3: The Shade Shuffle
Shade can be the party pooper in your solar celebration. Dance around your panels throughout the day, noting any potential shade cast by trees or structures. Sometimes, a simple trim or rearrangement can bring the sunlight back to your solar dance floor, ensuring your panels aren’t left in the dark.
Step 4: The Inverter Inspection Waltz
It’s time for the inverter inspection waltz! Your inverter is the maestro of the solar symphony, so make sure it’s still conducting smoothly. Keep an eye out for any warning lights or unusual sounds. If something seems off, it’s time to call in the repair dancers to get everything back on track.
Step 5: The Data Disco
Embrace the data disco and become the DJ of your solar system’s performance. Check your energy monitoring tools to ensure your panels are dancing to the beat you’ve set. Monitor your energy production and usage, making adjustments as needed. It’s like fine-tuning your dance moves for a flawless routine.
And there you have it, the ultimate dance through the world of solar installation! From setting up scaffolding to connecting the inverter and keeping the maintenance rhythm going strong, you’ve now got the moves to make your home shine with clean, renewable energy. Ready to take the spotlight and become an eco-friendly superstar? Don’t miss out on the chance to step into the world of solar panels and embrace a brighter, more sustainable future. Contact us today to learn more about our solar panel services and start your journey towards a greener, more energy-efficient home. Let’s light up the world, one solar step at a time! Go Solar Today!